6: Add user authentication to a dapp
End users can authenticate with applications on ICP through Internet Identity. It is ICP's native form of digital identity commonly used for dapps such as the NNS dashboard. Instead of having to manage a username or password, Internet Identity uses a cryptographic key pair that's stored in your local device's hardware.
This allows you to authenticate to your Internet Identity using methods that unlock your device, such as TouchID, FaceID, or another method. Through this simple and flexible authentication method, developers can provide end users with a frictionless way to authenticate and use their application.
Creating an Internet Identity
To create an Internet Identity, navigate to the II frontend URL: https://identity.internetcomputer.org/
Select 'Create New' from the UI.
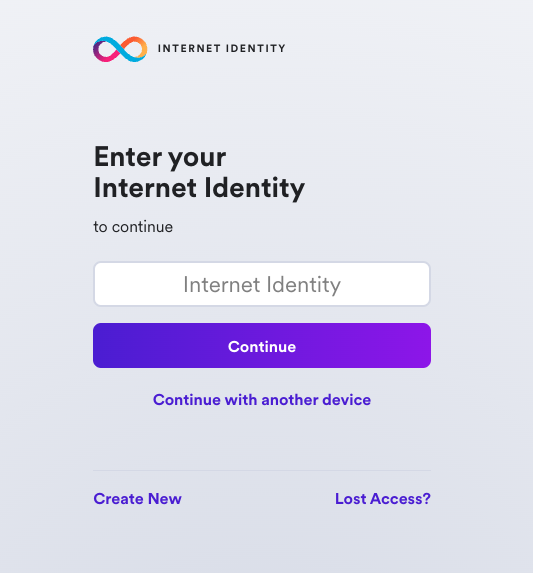
Next, select 'Create Passkey.'
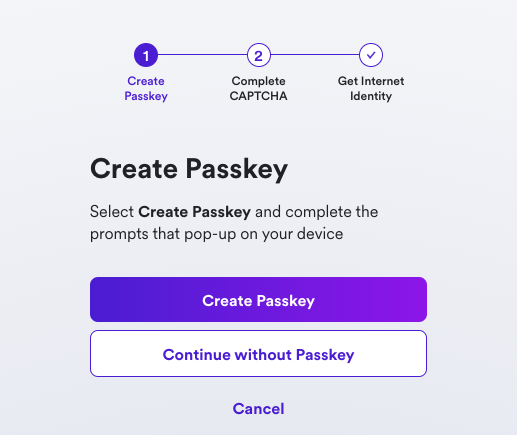
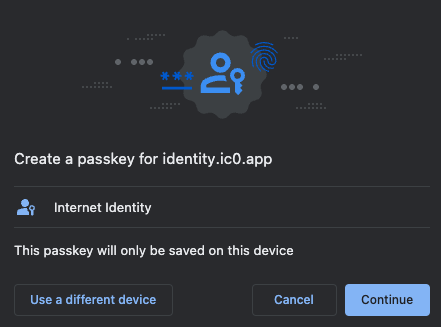
When prompted, choose how to create your passkey, either on your current device or you can use another device.
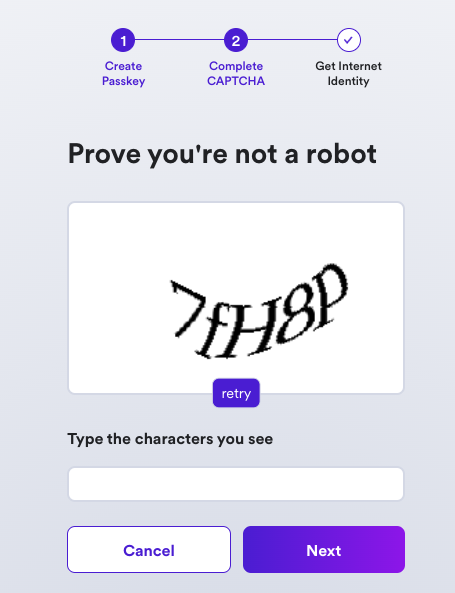
Then, enter the CAPTCHA to continue.
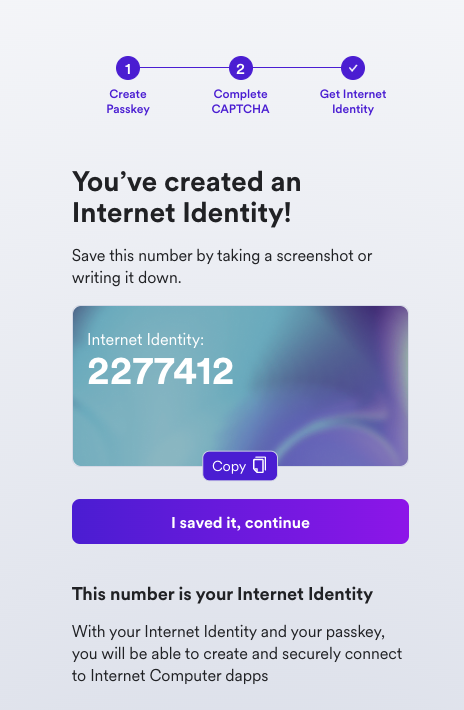
Your Internet Identity has been created! It'll be shown on the screen, and it is recommended that you write it down in a safe location to save it.
This number is your Internet Identity. With this number and your passkey, you will be able to create and securely connect to Internet Computer dapps. If you lose this number, you will lose any accounts that were created with it. This number is not secret but is unique to you.
Once you save it, select the 'I saved it, continue' button.
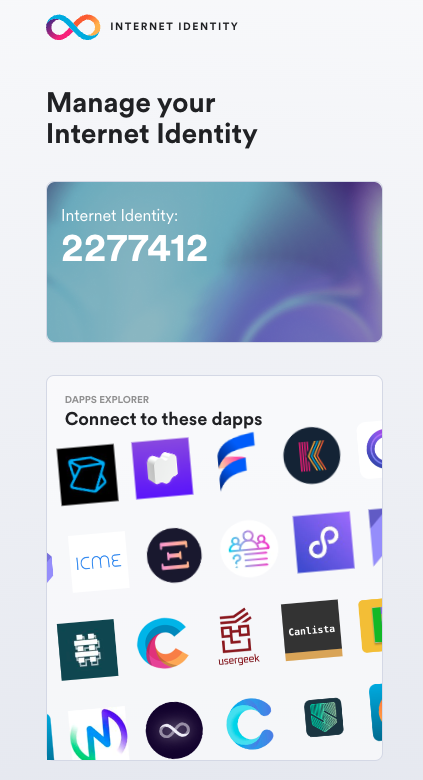
Then, you can connect your Internet Identity to dapps, shown in the Dapps Explorer:
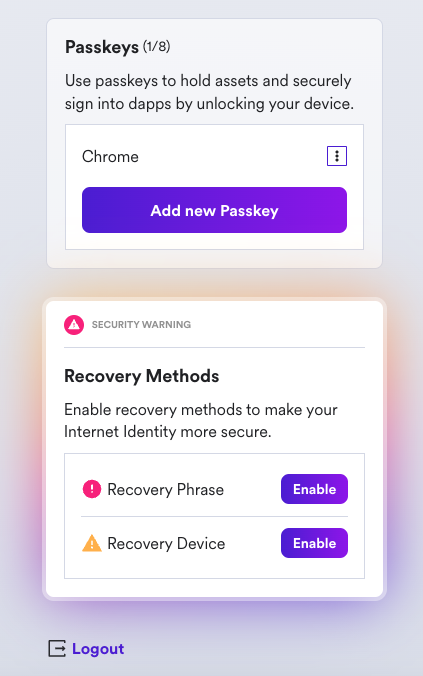
If you scroll down, you will see an option to add another passkey, and you will see options to enable recovery methods. It is highly recommended to enable the recovery methods so that you can recover your Internet Identity if the hardware passkey is ever lost.
Integrating Internet Identity into your dapp
Now let's look at a simple example of how to integrate Internet Identity into the frontend of a dapp.
Open the ICP Ninja Who am I? example. In the project's dfx.json file, you will see a definition for the Internet Identity canister:
{
  "canisters": {
    "backend": {
      "main": "backend/app.mo",
      "type": "motoko",
      "args": "--enhanced-orthogonal-persistence"
    },
    "frontend": {
      "dependencies": ["backend"],
      "frontend": {
        "entrypoint": "frontend/index.html"
      },
      "source": ["frontend/dist"],
      "type": "assets"
    },
    "internet_identity": {
      "candid": "https://github.com/dfinity/internet-identity/releases/latest/download/internet_identity.did",
      "type": "custom",
      "specified_id": "rdmx6-jaaaa-aaaaa-aaadq-cai",
      "remote": {
        "id": {
          "ic": "rdmx6-jaaaa-aaaaa-aaadq-cai"
        }
      },
      "wasm": "https://github.com/dfinity/internet-identity/releases/latest/download/internet_identity_dev.wasm.gz"
    }
  },
  "output_env_file": ".env",
  "defaults": {
    "build": {
      "packtool": "mops sources"
    }
  }
}
Initialize AuthClient
In the App.jsx file, you will see the code that initializes and creates the AuthClient, which uses Internet Identity to provide user authentication:
import React, { useState, useEffect } from 'react';
import { AuthClient } from '@dfinity/auth-client';
import { createActor } from 'declarations/backend';
import { canisterId } from 'declarations/backend/index.js';

const network = process.env.DFX_NETWORK;
const identityProvider =
  network === 'ic'
    ? 'https://identity.ic0.app' // Mainnet
    : 'http://rdmx6-jaaaa-aaaaa-aaadq-cai.localhost:4943'; // Local

// Reusable button component
const Button = ({ onClick, children }) => <button onClick={onClick}>{children}</button>;

const App = () => {
  const [state, setState] = useState({
    actor: undefined,
    authClient: undefined,
    isAuthenticated: false,
    principal: 'Click "Whoami" to see your principal ID'
  });

  // Initialize auth client
  useEffect(() => {
    updateActor();
  }, []);

  const updateActor = async () => {
    const authClient = await AuthClient.create();
    const identity = authClient.getIdentity();
    const actor = createActor(canisterId, {
      agentOptions: {
        identity
      }
    });
    const isAuthenticated = await authClient.isAuthenticated();

    setState((prev) => ({
      ...prev,
      actor,
      authClient,
      isAuthenticated
    }));
  };

  const login = async () => {
    await state.authClient.login({
      identityProvider,
      onSuccess: updateActor
    });
  };

  const logout = async () => {
    await state.authClient.logout();
    updateActor();
  };

  const whoami = async () => {
    setState((prev) => ({
      ...prev,
      principal: 'Loading...'
    }));

    const result = await state.actor.whoami();
    const principal = result.toString();
    setState((prev) => ({
      ...prev,
      principal
    }));
  };

  return (
    <div>
      <h1>Who Am I?</h1>
      <div id="info-box" className="info-box">
        <div className="info-content">
          <p>
            <i className="fas fa-info-circle"></i> A <strong>principal</strong> is a unique identifier in the Internet
            Computer ecosystem.
          </p>
          <p>
            It represents an entity (user, canister smart contract, or other) and is used for identification and
            authorization purposes.
          </p>
          <p>
            In this example, click "Whoami" to find out the principal ID with which you're interacting with the backend.
            If you're not signed in, you will see that you're using the so-called anonymous principal, "2vxsx-fae".
          </p>
          <p>
            After you've logged in with Internet Identity, you'll see a longer principal, which is unique to your
            identity and the dapp you're using.
          </p>
        </div>
      </div>

      {!state.isAuthenticated ? (
        <Button onClick={login}>Login with Internet Identity</Button>
      ) : (
        <Button onClick={logout}>Logout</Button>
      )}

      <Button onClick={whoami}>Whoami</Button>

      {state.principal && (
        <div>
          <h2>Your principal ID is:</h2>
          <h4>{state.principal}</h4>
        </div>
      )}
    </div>
  );
};

export default App;
This code does the following:
First, it creates an
AuthClientinstance usingAuthClient.create(). This is from theauth-clientlibrary used for handling authentication with Internet Identity.It gets the user's identity from the
authClient.Then it creates an actor using the
createActorfunction.It checks if the user is authenticated using
authClient.isAuthenticated().It updates the component's state with the new actor,
authClient, andisAuthenticatedstatus.Lastly, the
resultvariable awaits the response of a call to the backend'swhoamifunction. When the response is returned, theprincipalvariable stores it as aStringdata type.
whoami function
The backend's whoami function is defined in backend/app.mo:
import Principal "mo:base/Principal";

persistent actor Whoami {
  public query (message) func whoami() : async Principal {
    message.caller;
  };
};